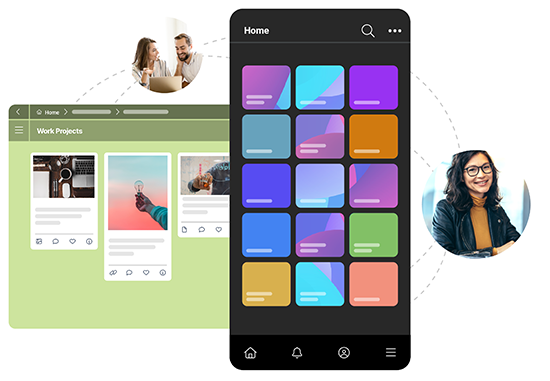
Bublup’s visual folders are a perfect match for creatives like you.
Since you’re a photographer, we don’t have to start this guide off with a cliche like “a picture’s worth a thousand words” because, let’s face it…you already know that – Visuals bring ideas to life!
So when it comes to your work, where do your photos live? How are they laid out? How are they shared? If the answer to any of these questions is in a boring blue folder or uninspiring file system, read on!
Bublup’s visual folders are a perfect match for creatives like you. Not only are all your photos, links, and files laid out with a corresponding image, but sharing them with clients, friends, or family is a breeze (and makes you look impressive to boot!). They give you one central place to organize your work, be productive, and get inspired.
Let’s explore how photographers can make the most out of Bublup:
1. Create Folders for Your Different Styles
Heaping all of your photos into a single folder probably isn’t useful. Likely, you’d want to separate them by the type of photo (like portraits or concert photography), subject matter (newborns or pets), or by the clients you shot them for.
That’s why we recommend getting started by building a folder hierarchy that makes the most sense for you. Here’s an example of a set up that might work well:
- Food Photography
- Outdoor Photography
- Client Information
- Portraits

Once you’ve got your folders set up, it’s time to go deeper! You can create nested folders within the folders you just made for even further organization. If this sounds up your alley, here’s a look at what some sub-folders could look like:
- Portraits → B&W
- Outdoor Photography → Night Skies
- Client Information → Invoices

2. Point, Click, Save!
You can not only save and see all your photos laid out in your folders, but you can also save videos, links, notes, and files right alongside them.
Bublup is a special place for creatives to save things, and we’re not just tooting our own horn. You can not only save and see all your photos laid out in your folders, but you can also save videos, links, notes, and files right alongside them. For you, that might look something like:
- Unedited Photo
- Note on Photoshoot Location
- Drone Footage
- Client Invoice

The power of seeing your stuff can’t be overstated. Whether you’re creating a mood board or just need to get your creative juices flowing, it’s a useful tool for any photographer.
There are a handful of different ways to get things into your Bublup folder. Whether you’re uploading from your phone or on desktop, here are a few methods for saving:
-
- Plus (+) Button
Just tap the big blue plus button to open the saving menu (pizza wheel?). Here you’ll see a bunch of options for the various media you can add to your folders.
- Share to Bublup (iOS)
Sharing to Bublup is a handy way to add things to your folders from your phone. Screenshots, links, and files can easily be saved right when you need it.
- Drag & Drop (Desktop)
Especially useful when adding numerous photos to your folder, just drag and drop what you’d like to save right into its designated folder. Uploading dozens of files from a shoot? Open up another My Stuff window while it uploads.
- In-App Camera (Mobile)
Bublup’s in-app camera lets you save photos directly into your folders as they’re taken, like inspiration you come across during the day. It doesn’t get more streamlined than that!
- Plus (+) Button
3. Share Your Stuff
Whether it’s clients, your creative partners, or your friends, sharing the photos and files you’ve saved is super simple.
-
- Group Folders:
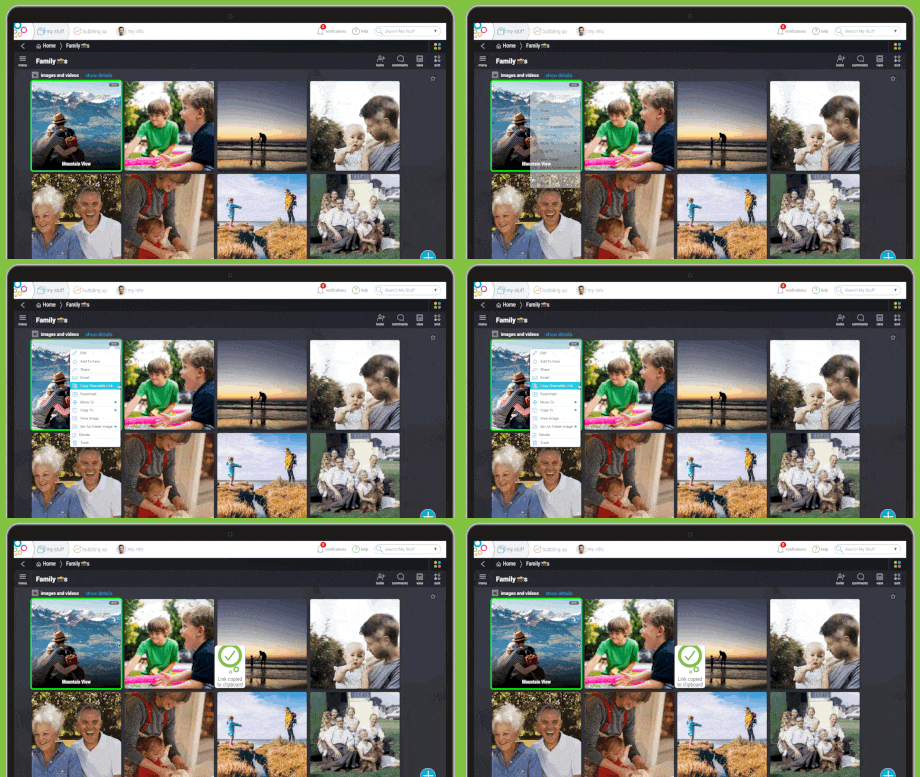
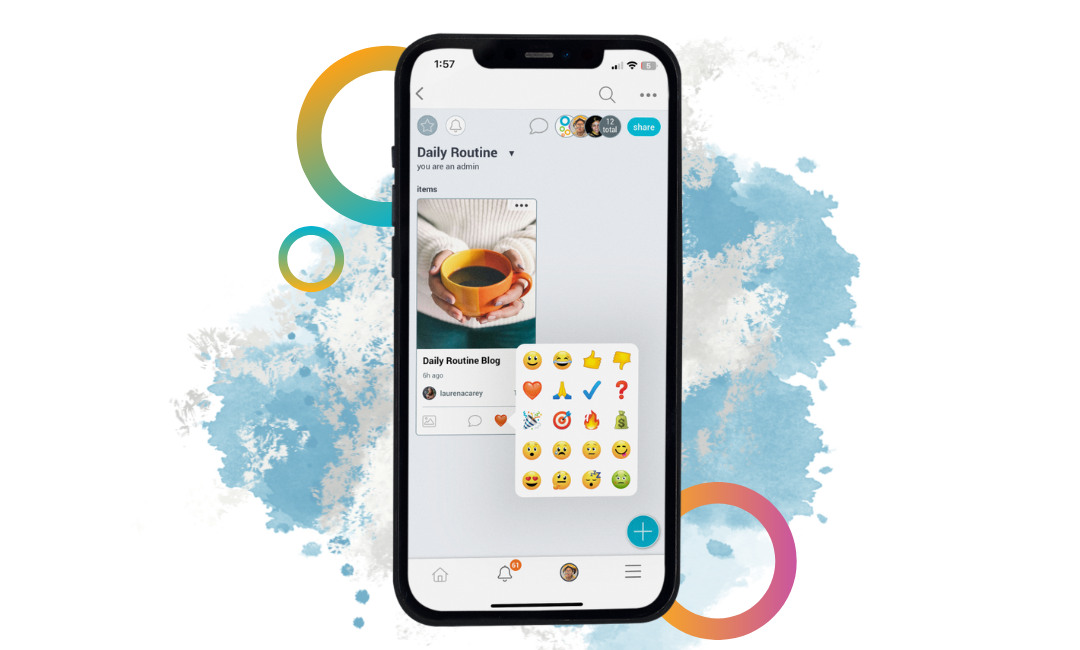
You can invite anyone into the folders you put together by tapping the invite button. You can set their permissions so they can add to the folder as well, or view only. Members can leave comments and reactions on the photos they love.
- Shareable Link:
One of the quickest ways to share a photo is with a shareable link—no need to worry about attachments or permissions. Simply get the link, and send it to anyone.
- Email:
If you want to email a photo or a batch of images, select the one(s) you’d like to share and tap “email.” They’ll show up stylishly in the recipient’s inbox, and you can even add your personal branding.
- Group Folders:

4. Get Rollin’
Rolls are particularly perfect for photographers who don’t have a site and need an online portfolio.
One of the coolest ways to share your work with Bublup is in a roll. It’s basically a way to “roll up” what’s in your folder into a sleek, instant web page.
This can come in handy in a variety of ways, but rolls are particularly perfect for photographers who need a quick online portfolio. They’re free to make (although there are some neat premium features to consider) and don’t require hosting fees or coding knowledge to make them look good.
Even better: you can easily make multiple rolls based on the work you want to spotlight. For example, you can create different rolls for your portrait photography and your travel photos. When it comes time to share your photos with a potential client or employer, you can highlight the work that will impress them the most.
Once you create your roll, take the time to tailor it to your personal style and needs. Each photographer’s roll will have its own unique look. Some changes you can make:
- Text edits for titles and descriptions to accompany your work.
- Consider changing section views to better showcase your photos
- “Set Key Area” for photos so that the focus of the photo is on full display.
- Pick a theme that goes well with the style of your photography. We recommend Darkroom and Lumi, created specifically with photographers in mind.
So there you have it. A quick rundown of how Bublup could help you share and save your work as a photographer. If you have any questions or feedback about the app, feel free to reach out to us at info@bublup.com.


